Firetip can be installed on Windows, Mac, Linux, and Linux variants. The installation process for the various operating systems are similar, but with some slight differences. The example below depicts a Windows installation.
After downloading Firetip, run the downloaded file.
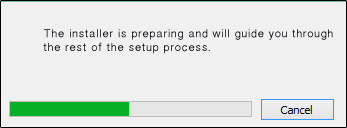
The Firetip's "Installation" dialog, illustrated below is displayed, letting you know that Firetip is preparing the application's installer.
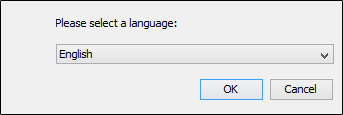
The first dialog in the installation process is the "Language Selection" dialog, illustrated below. Once the preferred language is selected click "OK," and the installation will start:
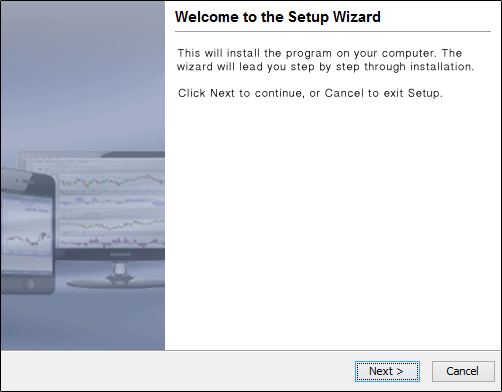
The "Welcome to the Firetip Setup Wizard" dialog is displayed, as shown in the following illustration. Click "Next" to continue.
The "Select Destination Directory" dialog is displayed. The defaults vary according to the location of your "Program Files" directory. You can accept the defaults or specify your own directory. Click "Next" to continue.
We recommend using the default directory and continuing to the step.
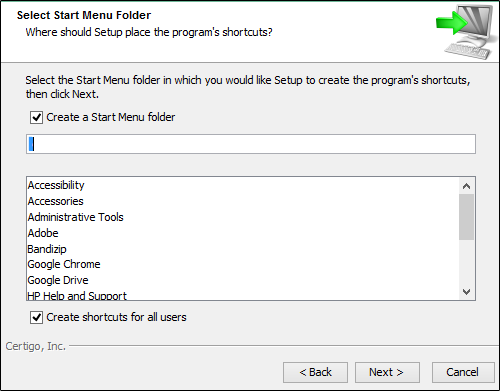
The "Select Start Menu Folder" dialog, illustrated below, is displayed. Accept the suggested "Start Menu Folder" and click "Next" to continue.
The "Installing" dialog, illustrated below, is displayed. Firetip is now being installed on your computer.

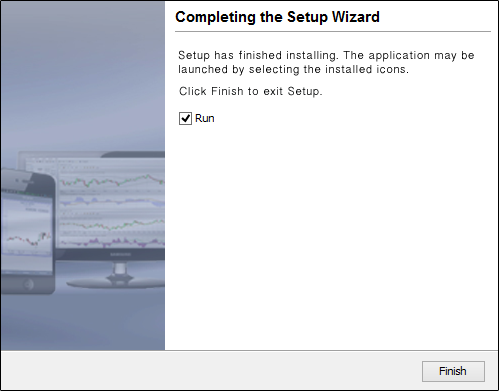
Once the installation process has completed, the "Completing the "Firetip Setup Wizard" dialog, illustrated below, is displayed. Click "Finish" to launch $PLATFORM"